As cryptocurrencies gain popularity, securing your digital assets is becoming increasingly important. With the rise of hacking attempts, scams, and other threats, it's essential to use a secure method to store your crypto. That’s where Ledger comes in. Ledger offers some of the most secure and reliable hardware wallets available today, ensuring your assets are safe from online threats. This guide will walk you through everything you need to know to get started with Ledger and make the most out of your new hardware wallet.
Ledger is a leading provider of hardware wallets that offer cold storage solutions for cryptocurrencies. By storing your private keys offline, Ledger devices provide an added layer of security that online wallets and exchanges can’t match. Hardware wallets like the Ledger Nano S and Ledger Nano X ensure that your crypto assets are safe from hacks, phishing attacks, and other online vulnerabilities.
In essence, a hardware wallet is a small, physical device that securely stores your cryptocurrency’s private keys offline. Only when you physically connect the device to your computer or smartphone can you sign transactions, making it nearly impossible for hackers to steal your assets remotely.
Ledger’s wallet offerings also come with a built-in secure element chip that enhances security, even against physical tampering.
When it comes to cryptocurrency storage, you have three main options: online wallets, exchanges, or hardware wallets. While online wallets and exchanges may seem convenient, they are much more vulnerable to security breaches. Here’s why Ledger is a great choice for securely storing your digital assets:
Now that you understand the importance of securing your cryptocurrency, let’s dive into how you can get started with Ledger and set up your hardware wallet.
The first step is to unbox your Ledger device. Inside the box, you’ll find:
Before proceeding, inspect the box and device for any signs of tampering. Always ensure you're using a genuine product to avoid any security risks.
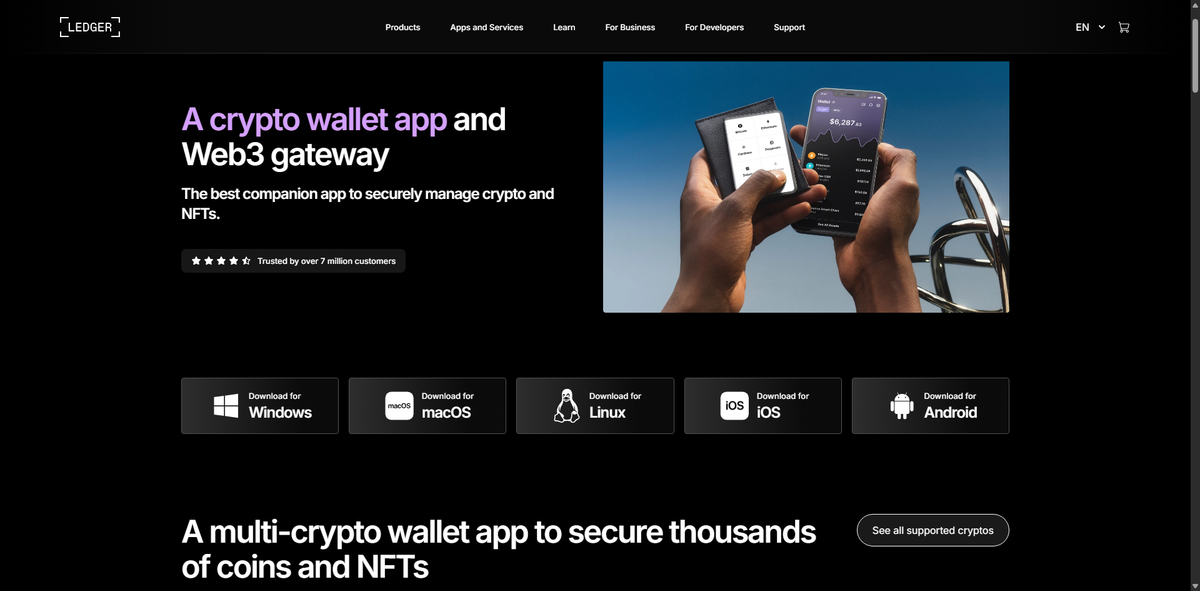
Ledger Live is the companion app that lets you manage your cryptocurrency directly from your hardware wallet. It’s available for both desktop (Windows, macOS, Linux) and mobile (iOS, Android). Here’s how to get started:
Now that Ledger Live is installed, it's time to set up your device:
At this point, you’ll be asked to choose a PIN code. The PIN code adds an extra layer of security to your device. Choose a 4-8 digit PIN that you can remember but is hard to guess.
The most crucial step in securing your wallet is backing up your 24-word recovery phrase. This phrase is the only way to restore your wallet if your Ledger device is lost, damaged, or stolen.
Once your Ledger device is set up and secured, you can begin adding cryptocurrency accounts. Here’s how:
Now that your Ledger wallet is set up, you can start sending and receiving cryptocurrency with ease:
To ensure that your device remains secure, it’s essential to update the firmware regularly. Ledger releases firmware updates that enhance security and add support for new cryptocurrencies.
Ledger provides one of the safest and most convenient ways to store your cryptocurrency. By following this step-by-step guide, you can ensure that your crypto is safe from online threats and that you have the tools you need to manage your assets securely. Whether you're holding Bitcoin, Ethereum, or any other cryptocurrency, a Ledger wallet offers peace of mind and the assurance that your assets are protected by the highest standards of security.
With a combination of offline storage, encrypted recovery options, and continuous updates, Ledger is the ideal solution for anyone serious about protecting their crypto wealth.